

Steal This Blog!
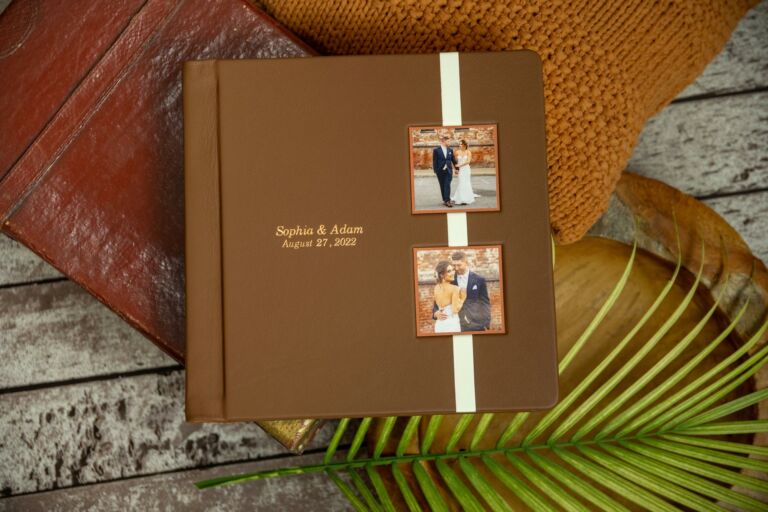
The services and education that Zookbinders provides focuses on helping photographers grow their businesses by creating beautiful professional wedding albums for their clients. Photographers know
The services and education that Zookbinders provides focuses on helping photographers grow their businesses by creating beautiful professional wedding albums for their clients. Photographers know
This July, Zookbinders will celebrate our 28th anniversary creating handcrafted albums and services for professional photographers. As we look back on how the industry has
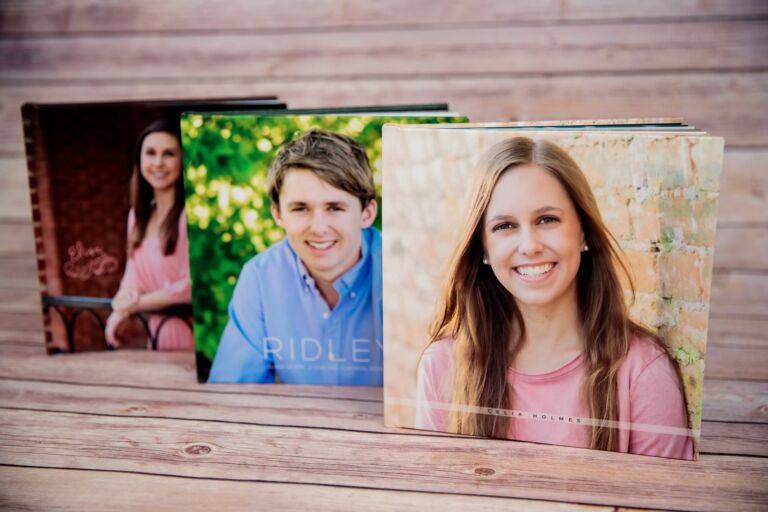
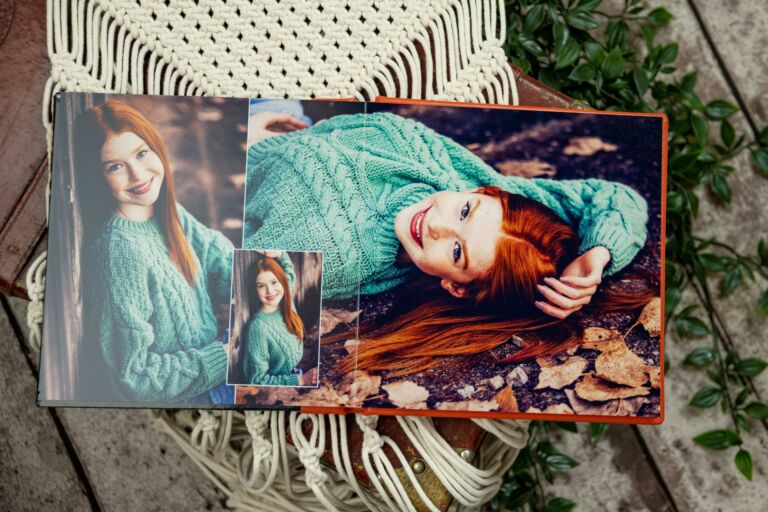
If you photograph high school seniors your calendar will soon be filling up with spring sessions for the class of 2023, and summer and fall
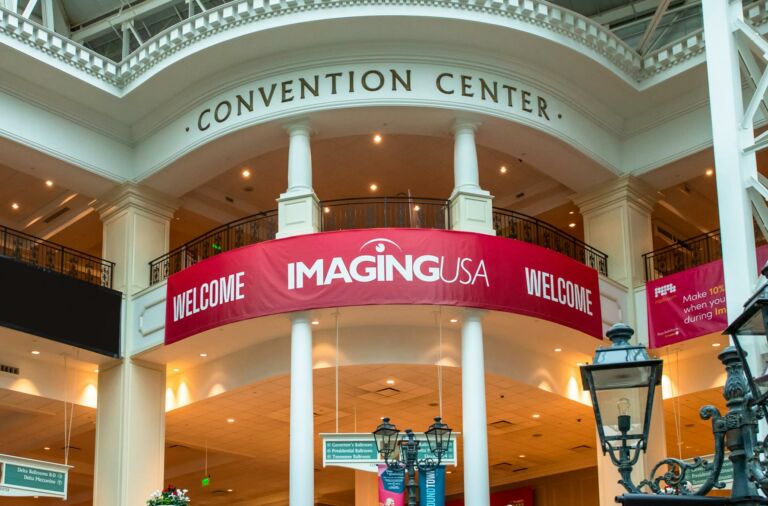
Imaging USA 2023 was definitely one of the most exciting photography conventions in the past few years. With a crowd estimated to be well over

Happy new year! As the calendar flips from December to January, individuals and businesses feel a sense of revitalization and innovation. A new year feels
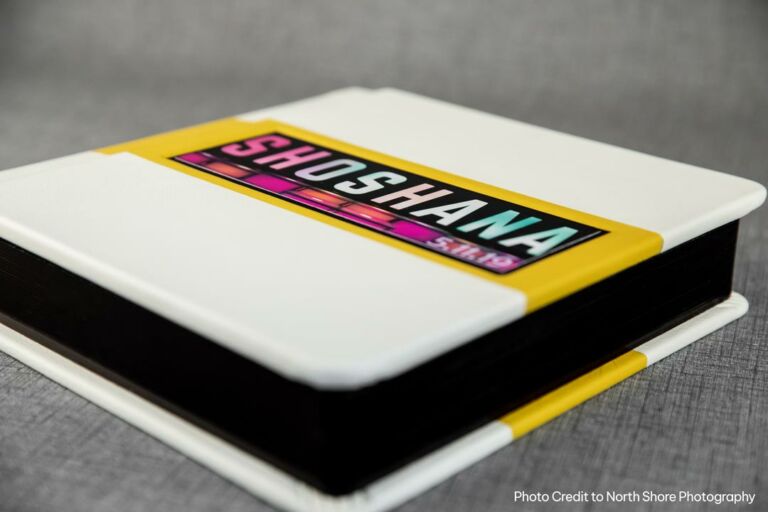
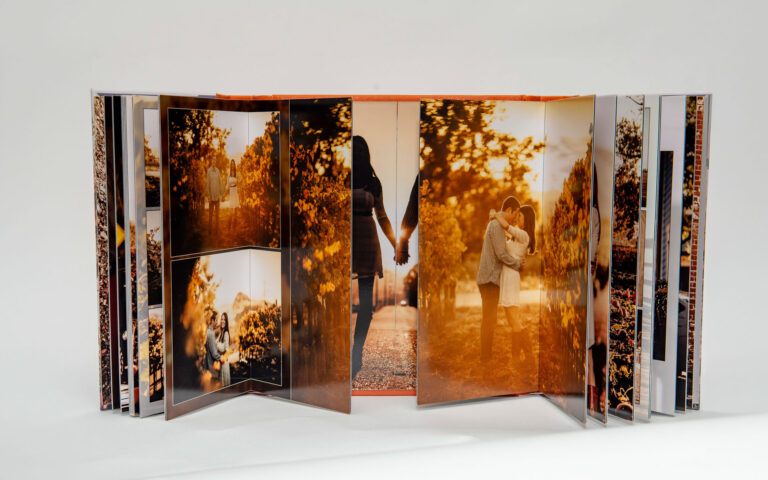
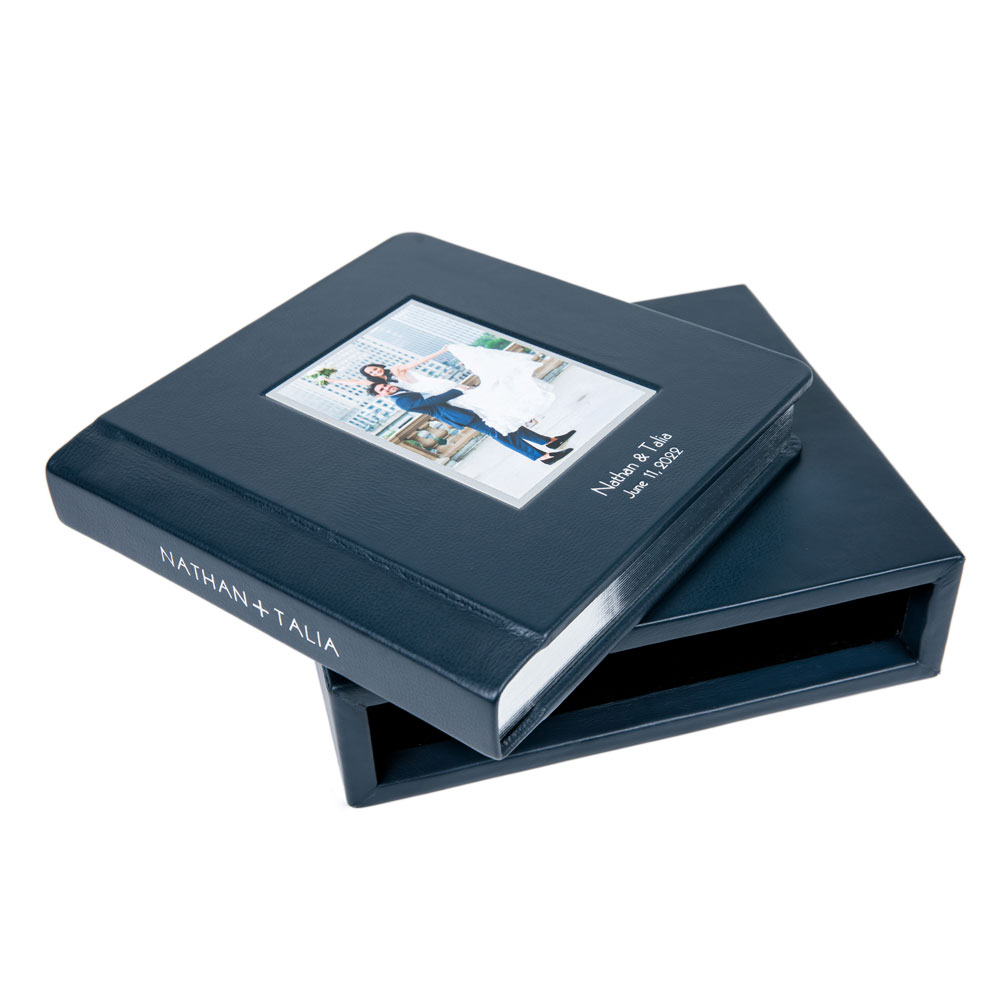
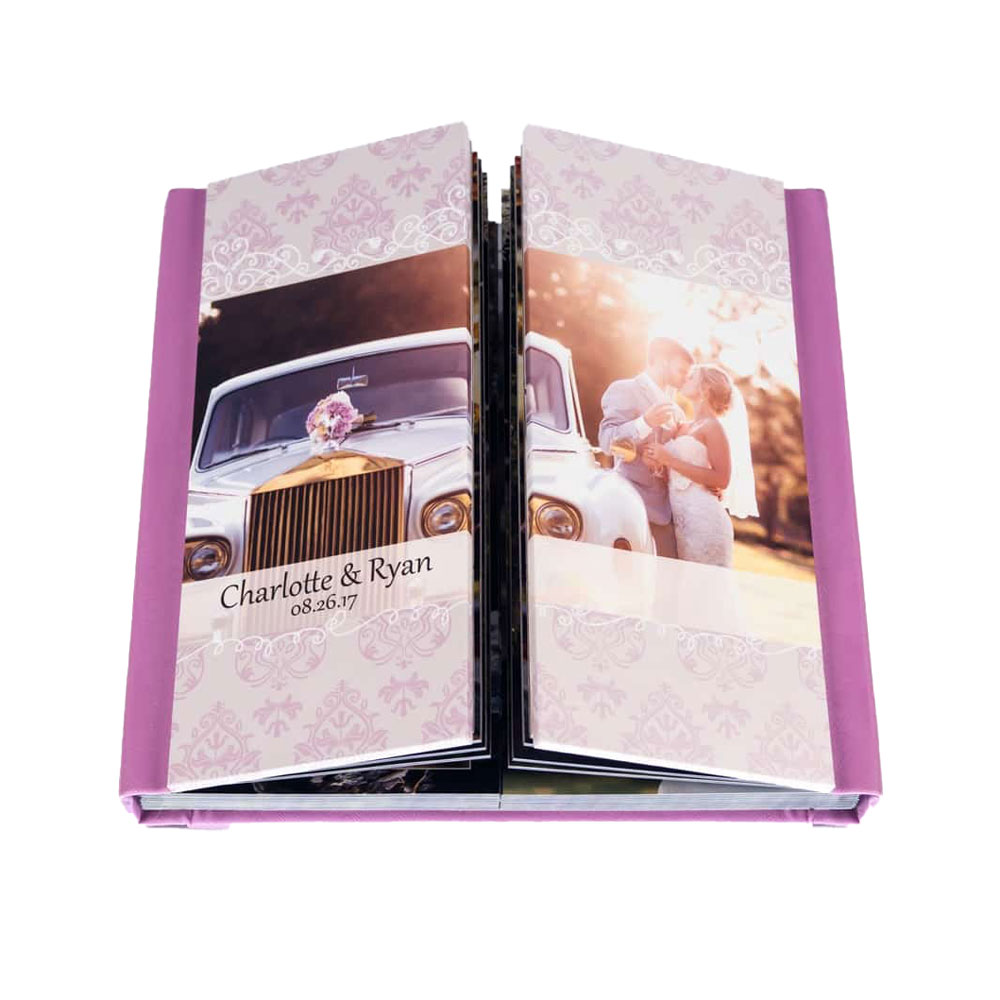
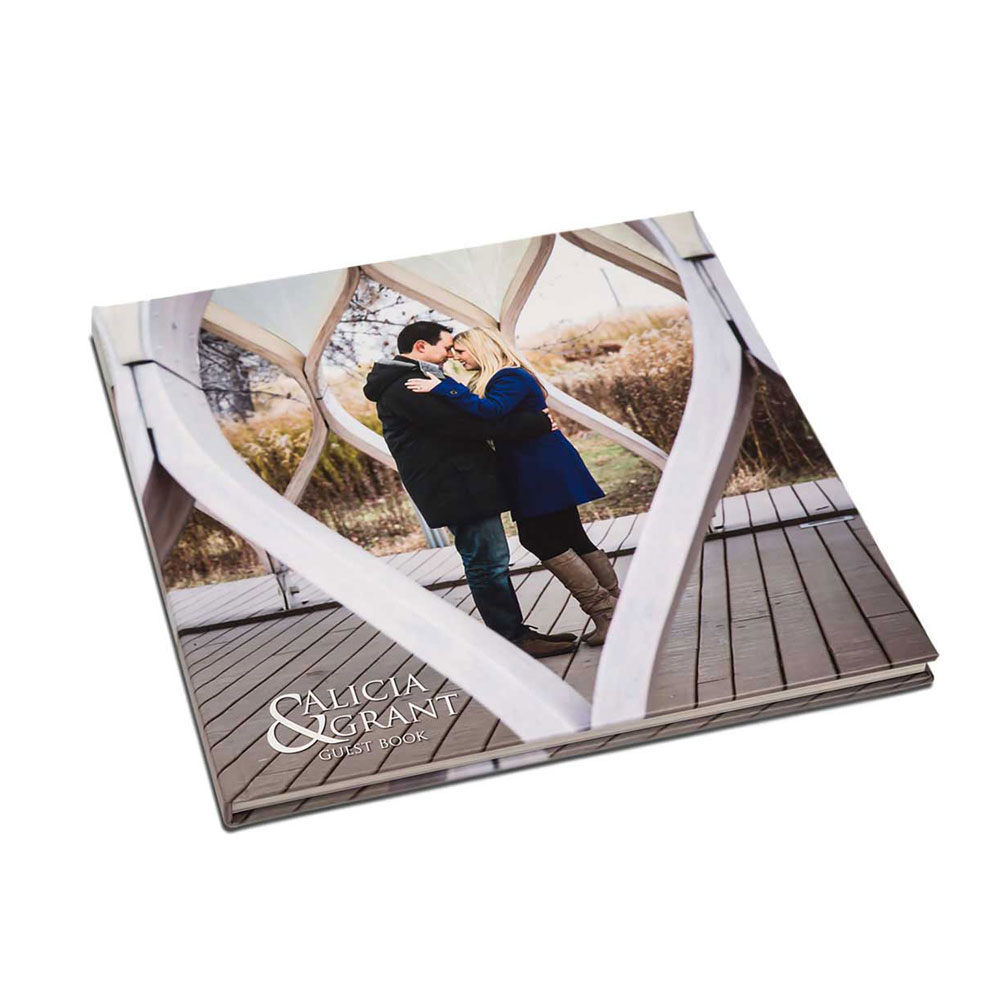
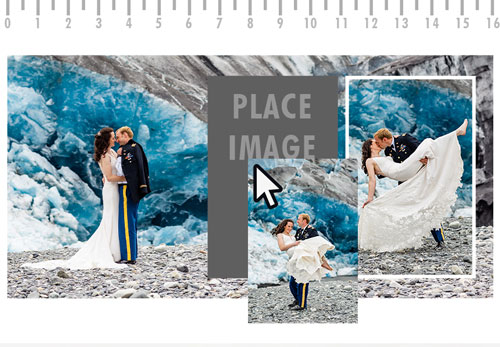
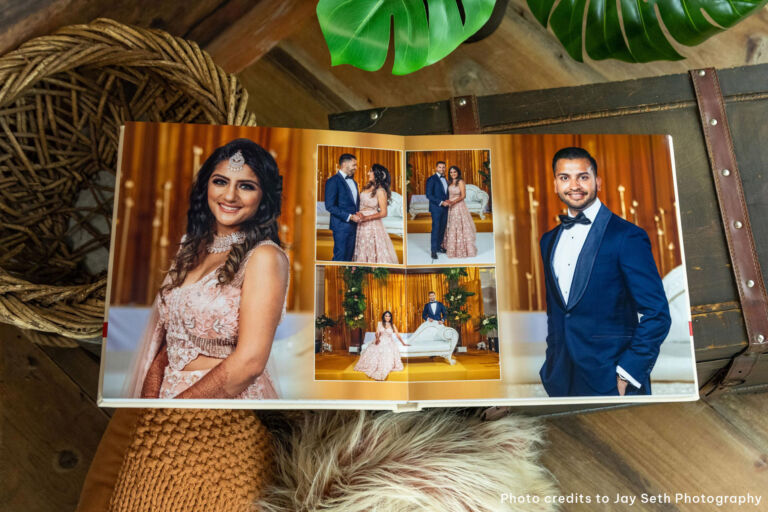
Splash Covers Zookbinders offers a wide variety of options for our professional wedding albums. There’s a lot to take in while paging through our catalog.
Gratitude is in the air and thankfulness is everywhere this season. It’s a busy time of year with celebrations and sales all around. It’s easy
Get your pumpkin spice cannons ready, fall is here! During this time of year, you can’t walk in a park, go apple picking, or park
Every business owner should have their elevator speech ready; a 60-second statement about what they do and how they help their customers. In addition, it’s
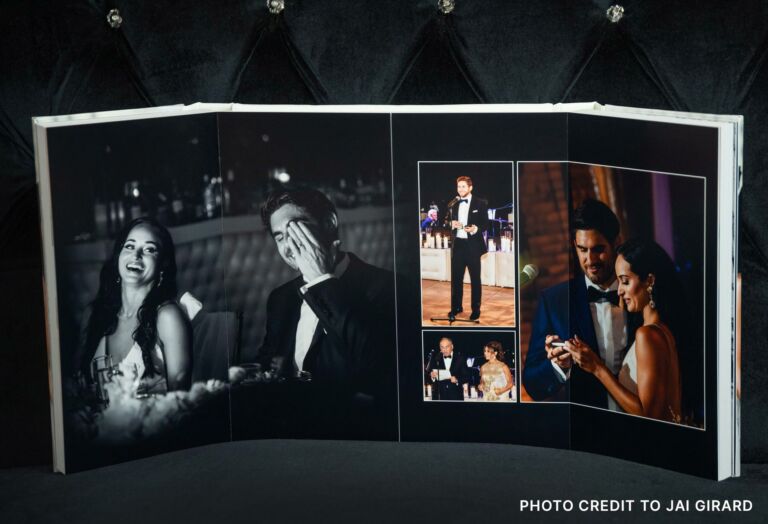
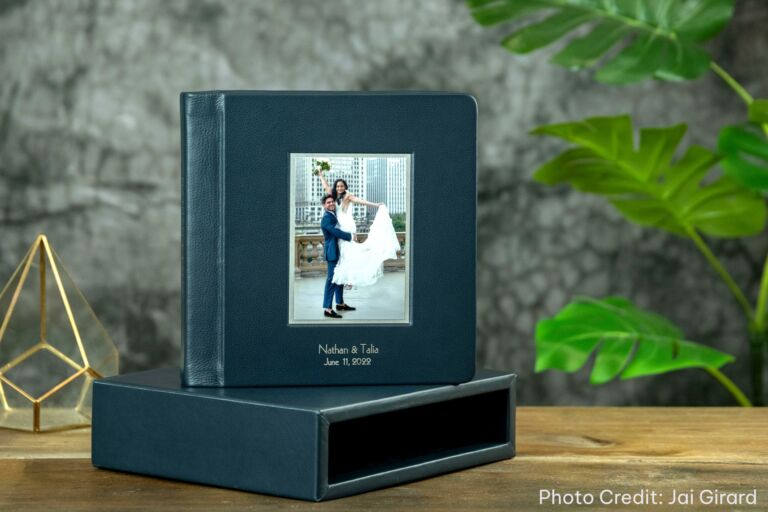
Zookbinders has been producing high-quality, handcrafted professional wedding albums since 1995. In 2011 we added an album design service to provide a one-stop shop for